Courtesy: Anish Kadakia and Acumed LLC
Plate Design Features
The Acumed Ankle Plating System (3 plates) is specifically designed to be soft-tissue friendly while providing stable fixation.
Key Design Characteristics
Low-Profile Distal Segment
- Thinner distal portion
- Minimizes soft tissue irritation
Screw Configuration
- Distal screw cluster: 2.7 mm locking screws
- Proximal screws: 3.5 mm
- Available as locking and non-locking options
Anatomical Contouring
Pre-contoured plates designed for:
- Fibula
- Posterior tibia
- Medial malleolus
- Small avulsion fractures
Advantages of the System
- Improved anatomical fit
- Reduced soft tissue irritation
- Superior fixation stability compared to traditional 1/3 tubular plates
Posteromedial Surgical Approach (Posterior Malleolus)
Surgical Goal
To provide direct access to the posteromedial tibia for accurate reduction and fixation of posterior malleolar fractures.
Key Anatomical Landmarks
Posteromedial Ankle Structures
- Posterior border of tibia
- Posterior tibial tendon
Neurovascular Bundle
Contains:
- Posterior tibial artery
- Tibial nerve
Important Principle:
The surgical approach is designed to avoid the neurovascular bundle.
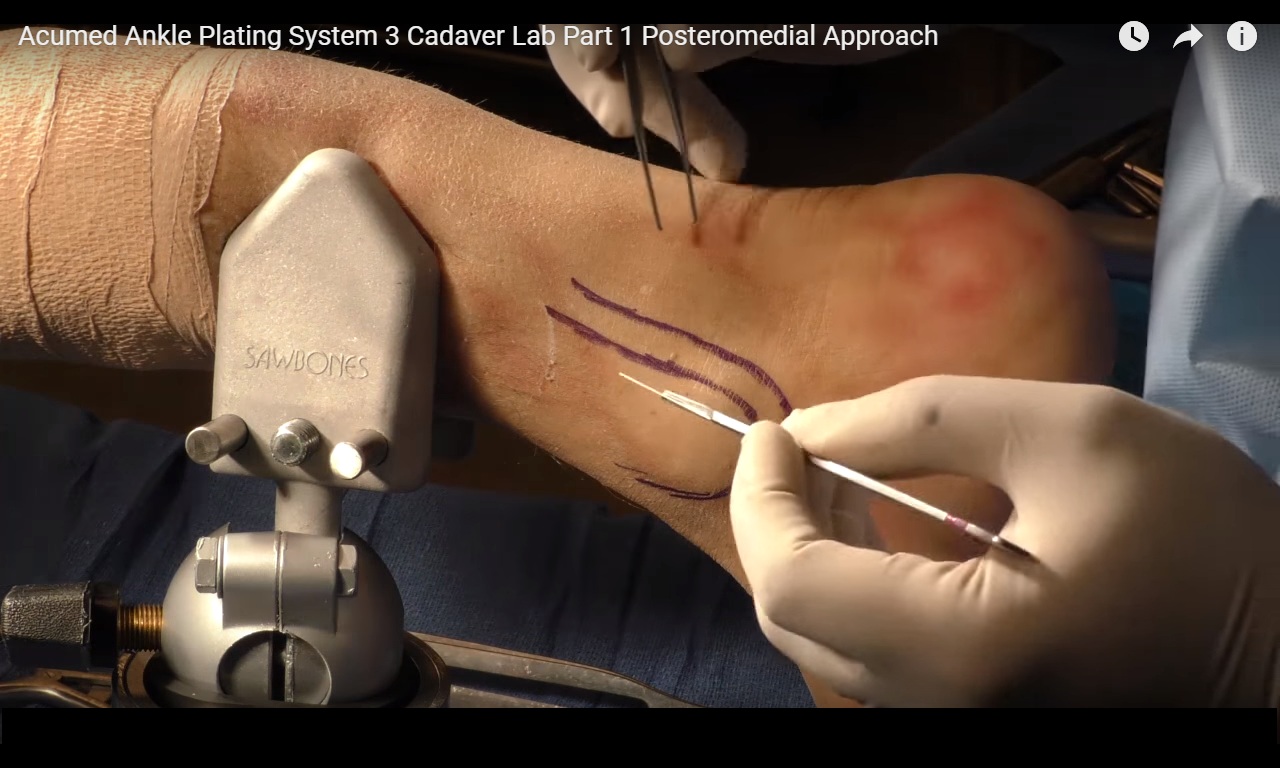
Skin Incision
Location
The incision is made between:
- Posterior tibial tendon
- Posterior border of tibia
Advantages
- Maintains a safe distance from the neurovascular bundle
- Provides direct access to the posterior tibial groove
Incision Length
- Typically short, as posterior malleolar fragments are usually small
Surgical Technique: Step-by-Step
Step 1 – Skin Incision
- Make a longitudinal incision just medial to the posterior tibial tendon
- Follow the posterior border of the tibia
Step 2 – Identify Tendon Sheath
- Expose the posterior tibial tendon sheath
Step 3 – Open Tendon Sheath
- Carefully incise the sheath
Key Point:
Avoid injury to the posterior tibial tendon
Step 4 – Tendon Retraction
- Retract the posterior tibial tendon laterally
Exposure Achieved
- Posteromedial tibia
- Posterior malleolar fracture fragment
Step 5 – Periosteal Incision
- Incise the periosteum over the posterior tibia
Reason
- Posterior malleolar fractures often have thick periosteum
Step 6 – Fracture Exposure
- Use retractors (e.g., Army-Navy retractors)
Outcome
- Wide exposure of posterior tibia
- Neurovascular bundle remains undisturbed
Plate Placement
Position
- Along the posterior border of the tibia
- Within the posterior tibial groove
Advantages
- Anatomical plate fit
- Stable fixation of posterior malleolar fragment
Closure
Essential Step
- Repair the posterior tibial tendon sheath
Rationale
- Prevents tendon subluxation
Although postoperative scarring reduces risk, closure is recommended
Key Surgical Advantages
- Safe and reliable approach
- Avoids neurovascular structures
- Direct visualization of fracture
- Optimal plate positioning
- Minimal soft tissue disruption
Anaesthesia & OT Considerations
Patient Positioning
- Prone
- Lateral
Regional Anaesthesia Options
- Sciatic nerve block (popliteal approach)
- Saphenous nerve block
Benefits
- Excellent intraoperative and postoperative analgesia
- Ideal for posterior ankle procedures
Leave a Reply