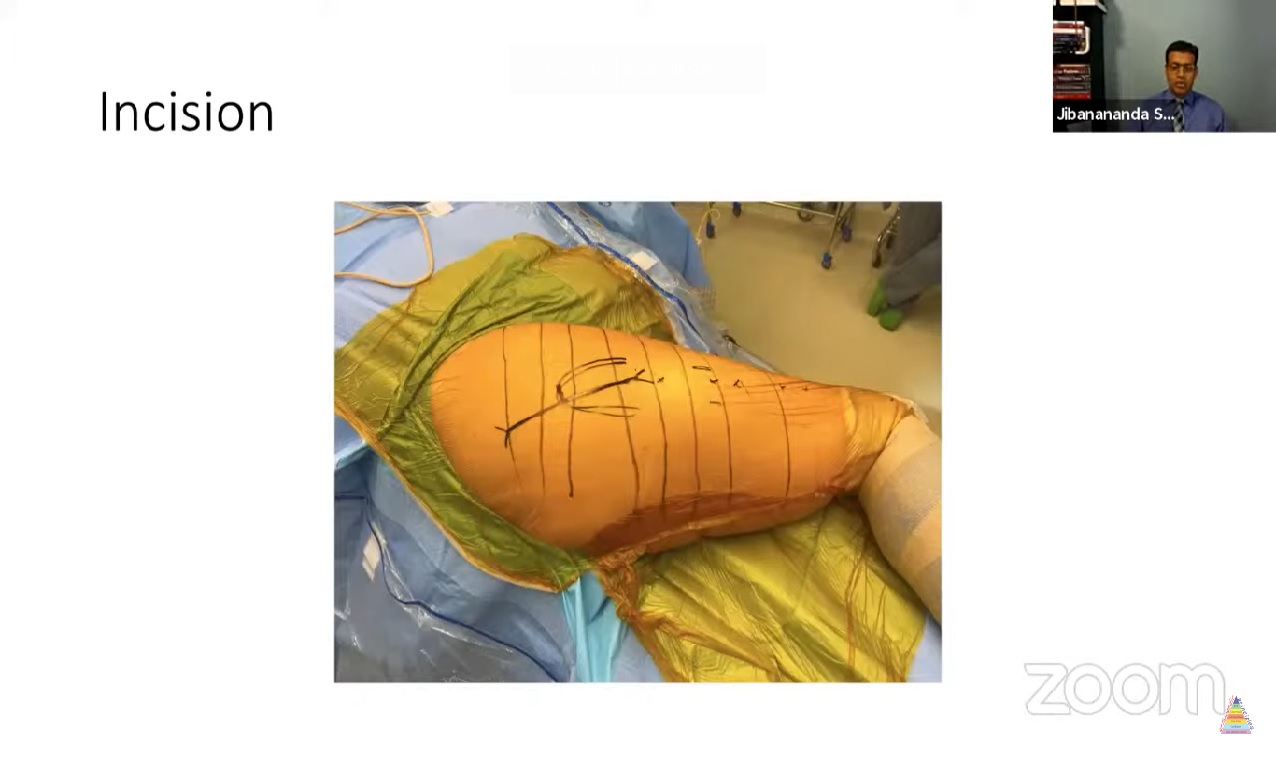
Courtesy: Jibananda Satpathy, MS, MRCS, FACS

Step by step approach to total hip arthroplasty (Posterior approach)
1) Incision
- Incision size depends on the size of the patient
- Usually, half of the incision is above and half below the tip of greater trochanter angled down posteriorly
2) Dissection deepened by incising and separating the subcutaneous tissue and fat
3) Ilio tibial band incised and split
- Splitting started right at the top of the trochanter and below it
4) Splitting gluteus maximus
5) Charnley’s retractor is placed
(Keep in mind the anatomy of sciatic nerve)
6) Retract gluteus medius
7) Cut the external rotators as a flap along with the capsule and gluteus minimus
(be careful of early dividing sciatic nerve)
8) Tag the external rotators using suture threads
(Help to protect sciatic nerve)
9) Dislocating the hip
By flexion adduction and internal rotation of the hip
-never force it
-do all your capsular releases
-make sure no soft tissue is obstructing it
-sometimes anterior capsular release is necessary for dislocation
-low threshold for in situ osteotomy in protrusion hip or ankylosed hip
9) Opening the canal
Open it along the piriform fossa
Be careful with sclerotic bone/ sickle cell /very soft bone
10) Reaming the femur
Ream as few times as possible, couple of sizes up or down the template
11) Neck osteotomy
Right along the top of the reaming hole that was created
Keep the saw away from the GT
Use a thinner blade if possible
12) Removing the head
13) Broaching the femur
Follow the femoral canal
Be careful as we mallet, because at some point the bone may crack
14) Acetabular exposure
Release the anterosuperior capsule to increase the exposure
Good circumferential exposure is critical
Gluteal sling may be released if necessary
15) Reaming the acetabulum
16) Acetabular cup placement
Guide points for correct placement include
-transverse acetabular ligament
-intra acetabular margin
-ischium
17) Placement of screws
Not compulsory
Safe sector can be identified using ASIS, centre of cup and 90 degree posterior to it
18) Check mechanics/trailing
If the neck is impinging on the cup either the stem or the cup is not anteverted enough , we have to change the socket or the stem
If the implants are not impinging and hip is dislocating then it is an external impingement, usually an offset problem (to check for offset look the level of external rotators)
19) Insertion of final implant
Never hit hard, be gentle and never force it in
Leave a Reply